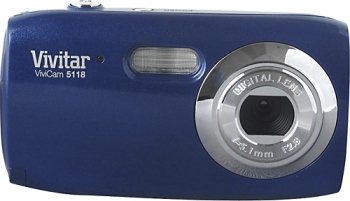
Last Saturday, I went and picked up an Arduino from Radioshack, and am still amazed at just how easy it is to program and integrate the chip into different projects. After playing around with blinking LED’s, I decided to tackle my time-lapse camera project. With a Best Buy gift card, I had bought a Vivicam V5118 , and after taking the power and shutter buttons out, I soldered on four wires to the connections, and ran them though the hole where the power button used to be.

Nothing terribly special. Just $30, but takes large enough pictures to give nice resolution, and even has a 1920×1080 picture size.
I was able to hook the shutter right into the Arduino header pins, and alter the “blinking LED” code’s delay so that it would take one shot every 12 seconds, and send power for 10ms. Here are my results from pointing it out the window that afternoon for three hours:
I edited the video with a freeware program called VirtualDub. It’s really spectacular for this, and it will allow sequentially-numbered photos to show in order. Here is the tutorial I used(although VirtualDub really wasn’t too difficult). The rendering took roughly an hour on my laptop, which included about 950 stills that had to be chopped down to a lower resolution. If I do this again, I will be taking advantage of the camera’s built-in 1920×1080 resolution.